
Last updated November 15, 2026
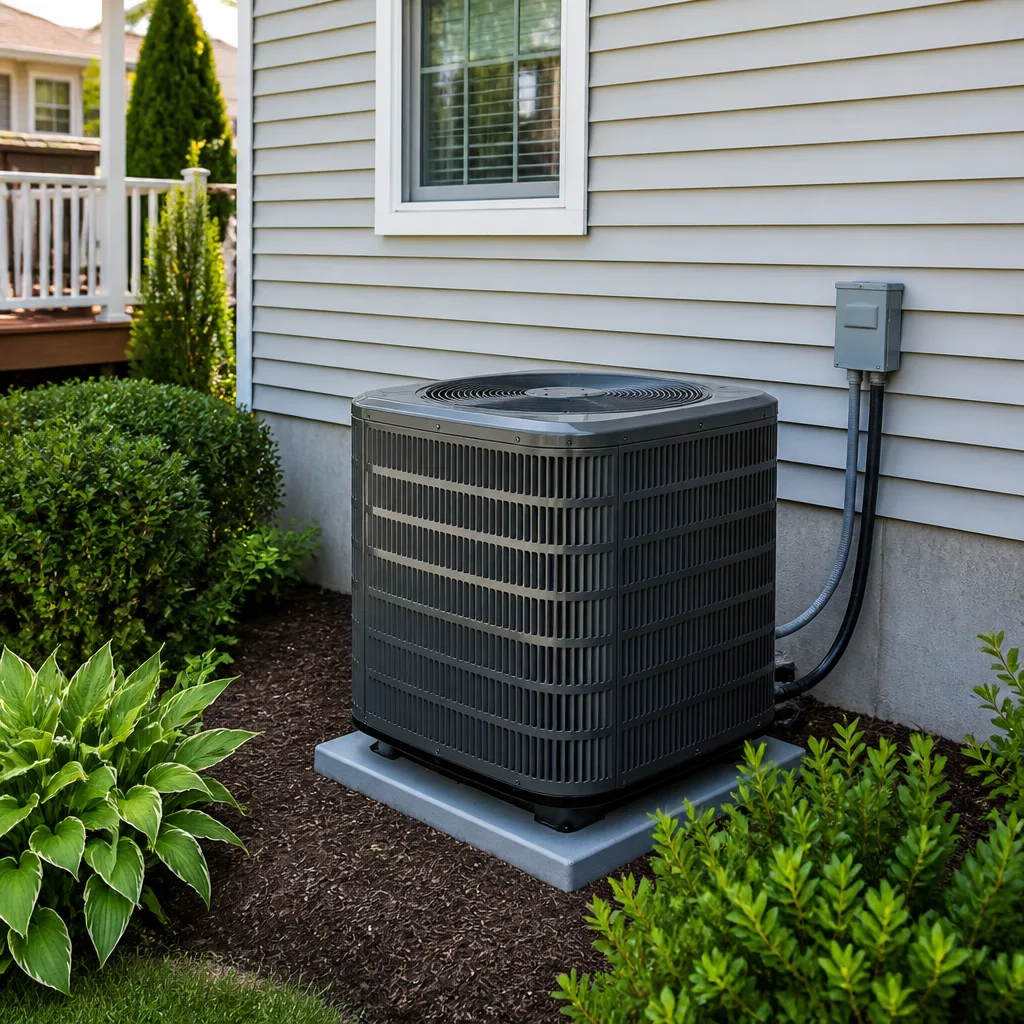 AC repair
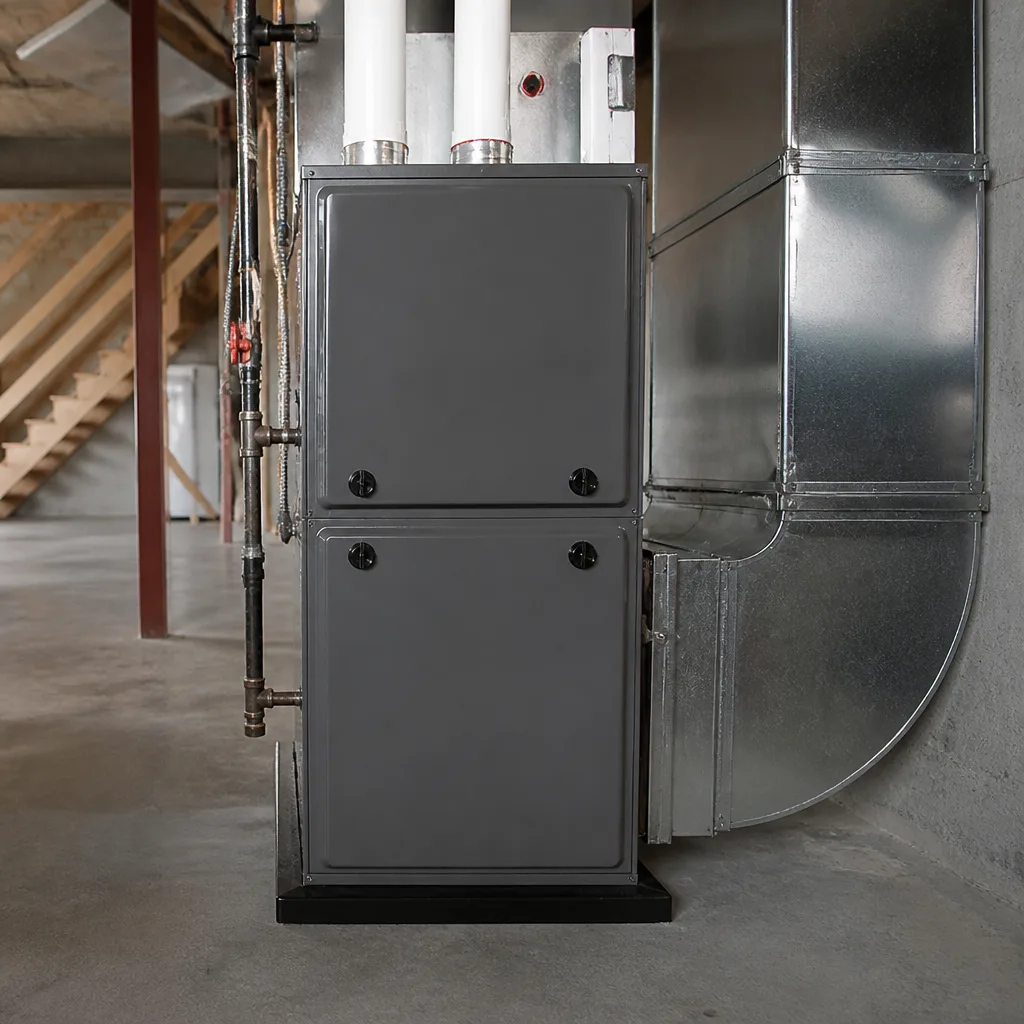 Furnace & heating
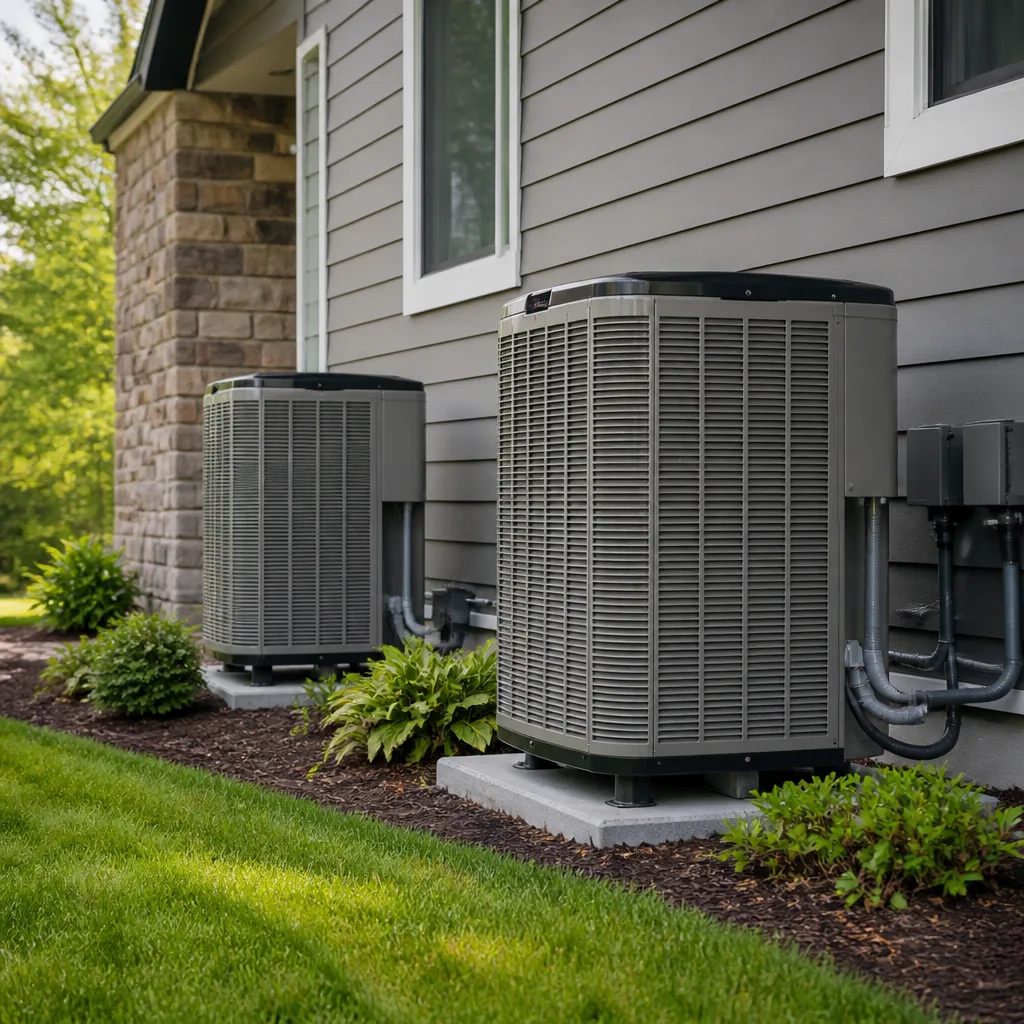 Heat pumps
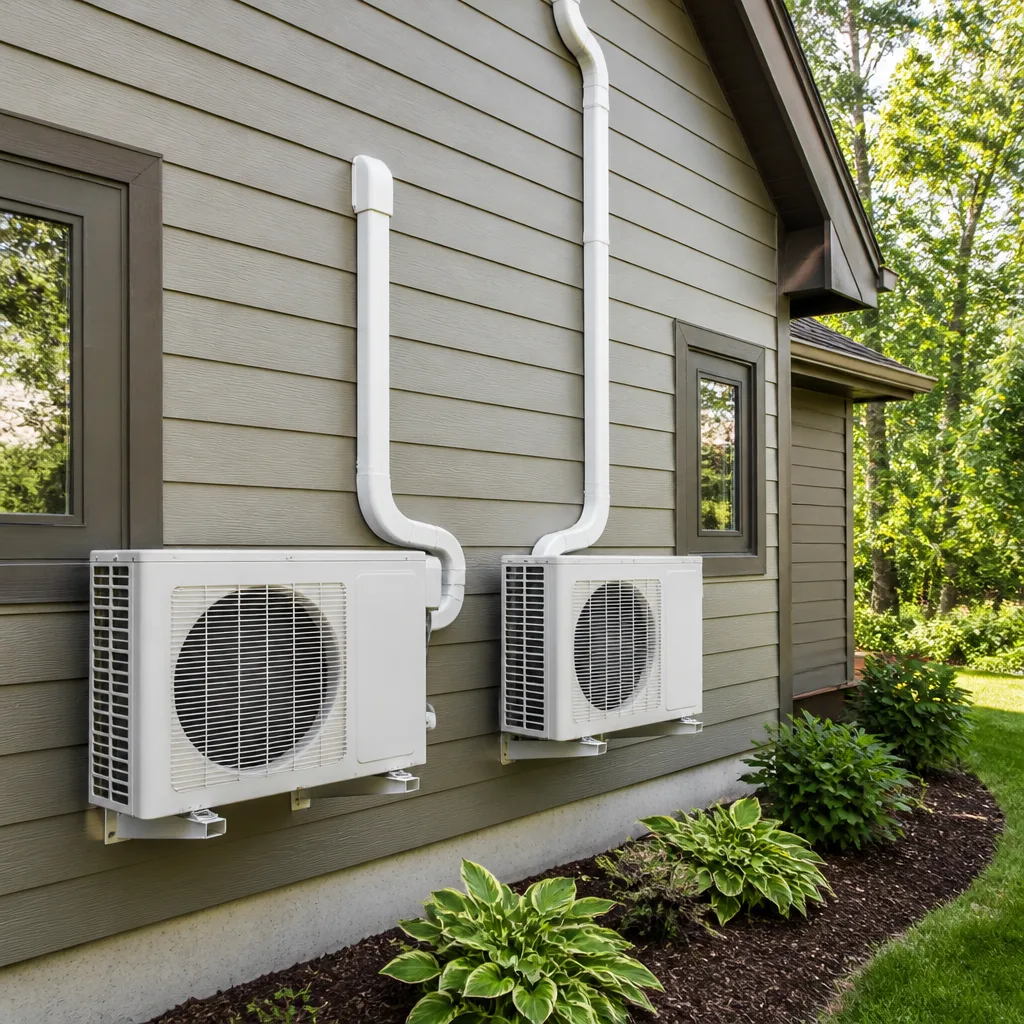 Ductless mini splits
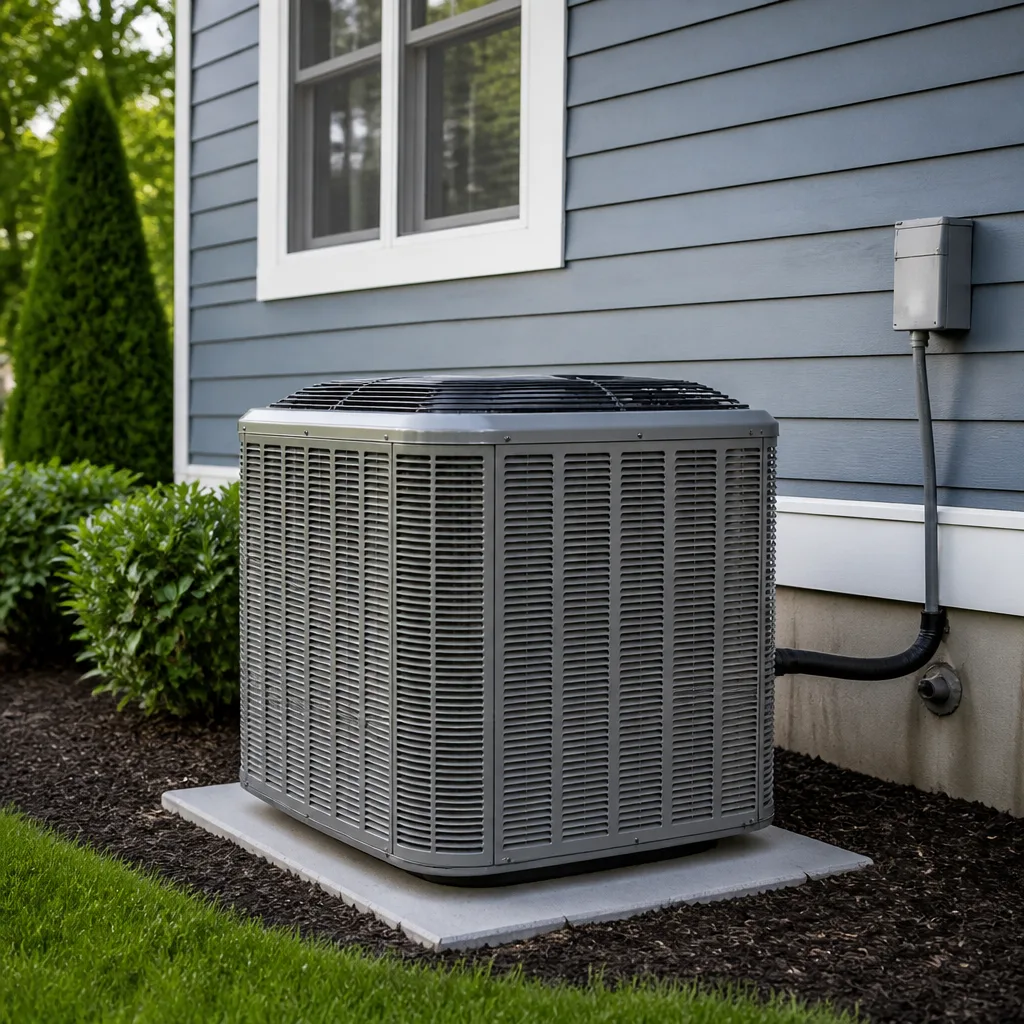 Carrier
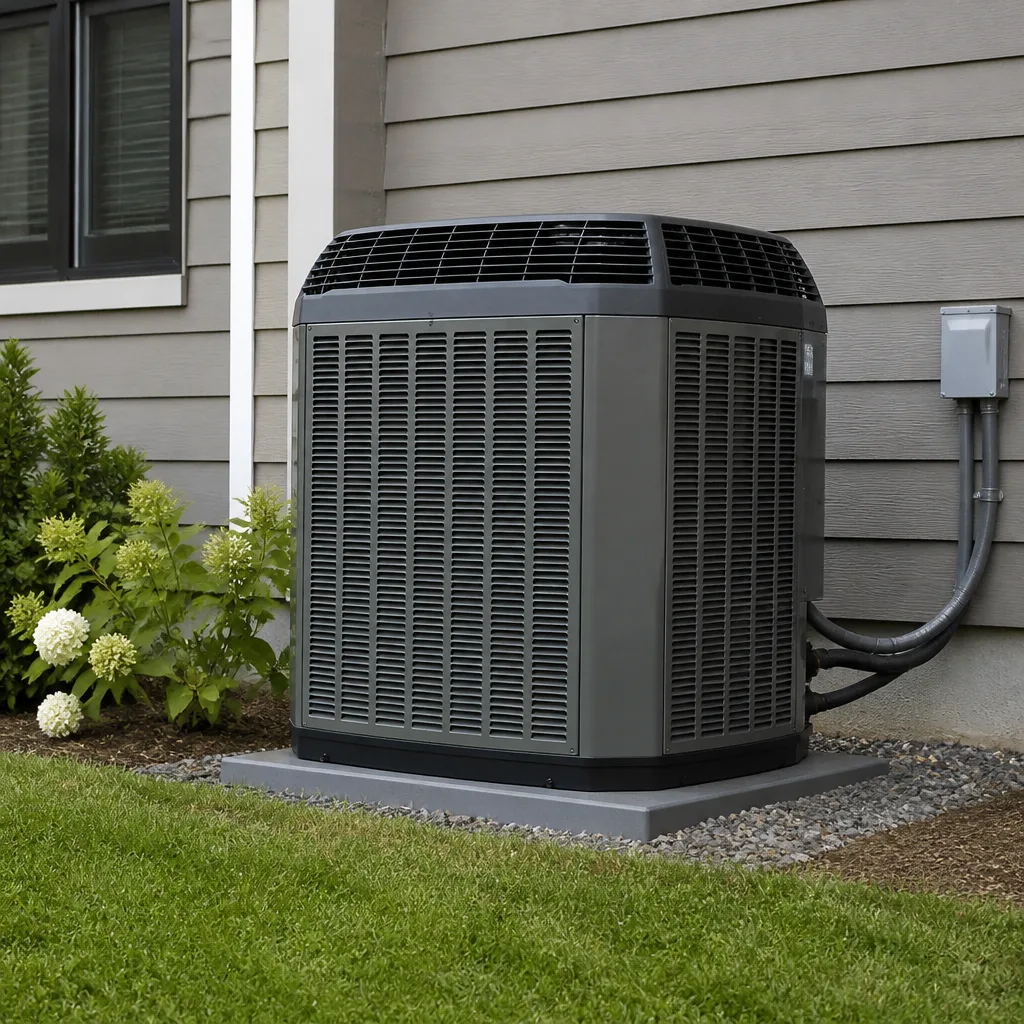 Trane
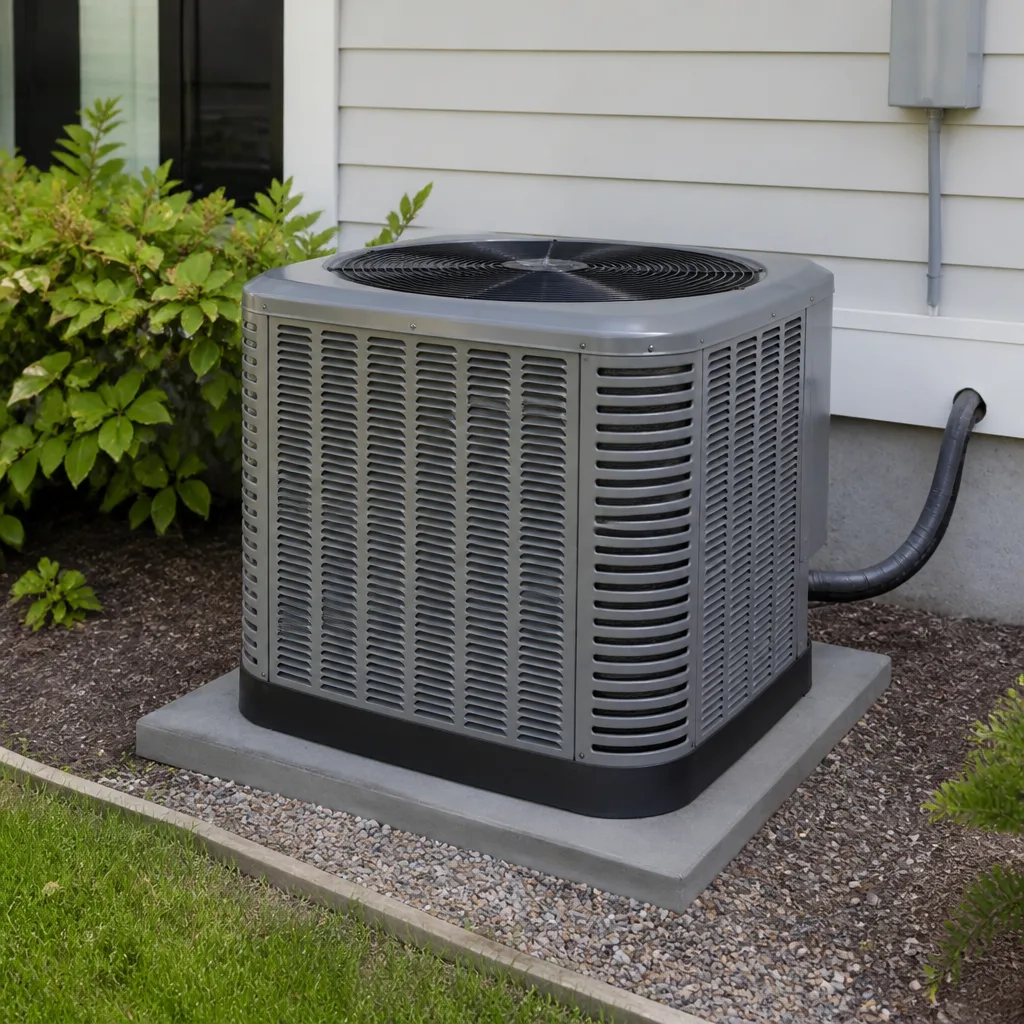 Goodman
Seasonal tune-up and full diagnostic on your Carrier, Trane, or Goodman system - readings shown to you before any repair is proposed
Diagnosis first, numbers second - you approve the repair price before a single part goes in.
Get your free estimateAC Installation Maintenance Checklist for Cape Coral Homeowners
Most AC maintenance checklists were written for places with four seasons. Cape Coral doesn’t have them. Your system runs hard most of the year, so the timeline that matters here isn’t spring and fall, it’s the first 30, 60, and 90 days after a new unit goes in, and then every month after that. The number-one reason a brand-new AC underperforms in Cape Coral isn’t a bad unit. It’s the handful of things the installer never walked the homeowner through on day one, and the small signals a homeowner never knew to watch for. This guide is built around what actually happens to equipment in Cape Coral: the day-one sign-off items, the early-warning checks, the maintenance a new install needs in this climate, and the tasks worth doing yourself versus the ones that should stay in a technician’s hands. Read it once when the system is installed, then keep it as a reference.
Quick Answer
A new AC in Cape Coral needs three things to last: a proper day-one sign-off (refrigerant charge verified, static pressure tested, condensate line sloped correctly), a 30/60/90-day check cycle to catch installation issues while the warranty still works in your favor, and a simple log of baseline numbers like supply and return temperatures so you have something to compare against when something feels off. Do those three things and most new systems run well through their warranty years. Skip them and small problems turn into expensive ones before anyone notices.
Styles & brands we work with
- AC repair
- Furnace & heating
- Heat pumps
- Ductless mini splits
- Carrier
- Trane
- Goodman
Table of Contents
- Day-One Verification: What to Confirm Before You Sign Off
- The 30/60/90-Day Post-Installation Check Cycle
- How to Log Baseline Performance Data
- Maintenance Calibrated to Cape Coral’s Year-Round Runtime
- What Heat and Humidity Do to a New System
- DIY-Safe Tasks vs. Warranty-Voiding Ones
- The Filter Schedule That Actually Works Here
- Brand Notes: What to Know About Your Equipment
Day-One Verification: What to Confirm Before You Sign Off
The single highest-value hour in the life of a new AC is the walkthrough at the end of installation. It’s not a formality. It’s the only time the installing technician is standing in front of the new unit with the homeowner and the paperwork at the same time. If something was missed, this is when it gets caught without a service call. Once the install is signed off and the truck is gone, every loose end becomes a separate appointment.
Here’s what to confirm in person, not just see written on a form.
- Refrigerant charge verified by weight or by subcooling/superheat. An installer who says “it’s charged” isn’t telling you enough. Ask how they verified it and what the target subcooling or superheat was for your system. If they eyeballed it, that’s the single most common source of early compressor strain in Cape Coral.
- Static pressure test on the ductwork. A new condenser pushing against undersized or leaking ducts will short-cycle and never hit setpoint. Ask for the reading and whether it’s within the manufacturer’s spec.
- Condensate line slope and drain test. The condensate line should slope continuously to the drain and nothing should pool. Run the system for a full cooling cycle before signing off and watch the drain pan. Water in the pan during cooling is a sign of a slope or trap issue that gets worse over time.
- Cabinet and plenum seal inspection. Look at the seams between the air handler and the ductwork. Any gap big enough to feel with your hand is a leak, and in an attic it pulls in hot, humid air you paid to cool.
- Electrical connections snug. Breaker sizing matches the nameplate, disconnect box is properly seated, and wire gauge matches the unit. This is a safety item, not a nicety.
- Thermostat programmed and explained. You should leave knowing how to set scheduling, change the fan mode, and what the default hold behavior is.
- Documentation handed over. Warranty registration confirmation, equipment model and serial numbers, and the installer’s notes on the refrigerant charge and static pressure. Take photos of the nameplate while the technician is still on site.
If the installer hesitates on any of these, ask them to walk through it. The good ones will already be showing you without yours asking. If you’re getting quotes on AC installation and this walkthrough is not part of the conversation, that’s a signal about what happens after the sale.
The 30/60/90-Day Post-Installation Check Cycle
Most installation problems surface in the first 90 days if anyone is watching. That’s the window where manufacturer warranties are easiest to claim, because there’s a documented timeline of what was found and when. After 90 days, the conversation shifts from “the install has an issue” to “this component failed,” and the warranty path gets more complicated.
Day 30: Confirm Basics
- Check the filter. If it’s already dirty at 30 days, your filter schedule needs tightening or your return air path is pulling more dust than it should.
- Note the split between supply and return temperatures (see the baseline log section). A healthy delta is roughly 15 to 20 degrees Fahrenheit on a properly charged system.
- Listen at the outdoor unit with the house quiet. Any new rattle, click, or intermittent fan start is worth a look now.
- Check for water under or around the indoor air handler, especially in attics or garages.
Day 60: Watch for the Slow Signals
- Filter again. Compare dirt level to day 30.
- Run time. If the system is running noticeably longer than it did in week one under similar weather, that’s an early refrigerant or airflow signal.
- Capacitor whine or hum at the outdoor unit. New-unit capacitors that are going to fail early usually show it by day 60.
Day 90: Get It Looked At
- Book a technician visit for a charge verification and static pressure recheck. Even a system installed correctly can drift in the first season as the ductwork settles and any small leaks open up.
- Verify the warranty was actually registered. Manufacturers won’t honor an unregistered warranty, and the registration window is often short.
- Confirm ductwork is still sealed at the seams. Attic heat and humidity work on tape and mastic quickly.
Nothing on that 90-day list is expensive to handle. That’s the point. A capacitor replaced at day 60 under warranty is a small appointment. The same capacitor replaced after it takes out a compressor at month 14 is a different conversation.
How to Log Baseline Performance Data
Almost nobody does this, and it’s the single most useful maintenance habit a Cape Coral homeowner can build. The idea is simple: two or three times in the first year, write down a few numbers. When the system starts feeling off in year three, you have something to compare against instead of a vague memory of “it used to cool better.”
You don’t need special tools for the basic version. Here’s the minimum useful log:
- Date and outside temperature. Rough is fine. The point is context.
- Supply air temperature. A cheap thermometer held in a supply register for a minute will do. Note where in the house you measured.
- Return air temperature. Same thermometer at the return grille.
- Thermostat setpoint and actual indoor temperature after 30 minutes of steady running.
- Filter condition (clean, slightly dirty, replaced today).
That’s the homeowner baseline. A technician can extend it with two numbers that turn a guess into a diagnosis: refrigerant subcooling or superheat and compressor amp draw. Ask for both at your 90-day check and once a year after that. Amp draw creeping up over successive readings is a slow failure developing. Subcooling drifting out of spec is a charge or restriction signal. Neither is obvious from the thermostat. Both are obvious on a paper trail.
Keep the log somewhere you’ll actually find it. A notes app on your phone works. A sheet taped inside the air handler closet door also works and outlives phone upgrades. Six readings a year is enough to catch almost anything early, especially when our technicians have up to experience and can look at a two-year trend and tell you which direction a system is drifting.
Maintenance Calibrated to Cape Coral’s Year-Round Runtime
An AC in a place with a real winter gets four or five months off every year. Yours mostly doesn’t. That changes what maintenance has to catch, because every hour the system runs is an hour the coil is collecting dust, the fan is spinning, the capacitors are heating, and the condensate line is draining. Multiply that by year-round operation and the maintenance timeline compresses.
Here’s a realistic schedule for a Cape Coral home:
- Monthly: filter check (see the dedicated filter section below). Visual check around the outdoor unit for debris, weeds, or anything blocking airflow. A quick listen.
- Quarterly: supply and return temperature readings. Outdoor coil inspection for visible buildup. Cabinet seal inspection, especially on attic units.
- Twice a year: professional coil cleaning on the outdoor unit. Condensate drain flush. Disconnect box inspection for snug connections and any signs of heat discoloration. Static pressure recheck.
- Annually: full tune-up with refrigerant charge verification, amp draw readings on the compressor and both fans, capacitor testing, and a written report of what was found.
That quarterly coil inspection matters more here than in most of the country, because humidity keeps the coil wet more of the time and wet coils collect dust differently than dry ones. The dust that builds up in a humid climate is more like a mat than a powder, and airflow drops faster than the calendar would suggest.
For anyone weighing whether to keep a current system versus replacing it, the annual tune-up report is the document that answers the question. That’s also the point where we’d point you toward Linden AC Repair for a straight answer, not a sales pitch: if the system has years left, we say so. If it doesn’t, the report is what makes that conversation honest.
What Heat and Humidity Do to a New System
Cape Coral’s combination of sustained heat and high humidity stresses a new system in ways that don’t show up in dry climates. The heat is the obvious one. The humidity does the quieter work.
A few things to understand about how your new system handles this climate:
- Longer run times are normal and healthy here. A properly sized system running 45 to 60 minutes per hour at peak heat is doing its job, not struggling. Short cycling (10 minutes on, 10 off) is actually the problem, because the coil never gets cold enough to dehumidify and the compressor wears from frequent starts.
- Dehumidification depends on airflow. If the blower is set too high, air moves across the coil too fast to condense moisture out of it. The house feels cool but clammy. This is why the static pressure test at day one matters: it’s the beginning of a properly dehumidifying system, not just a cooling one.
- Condensate volume is high. In this climate your system produces a serious amount of water in a day. The line has to slope correctly and stay clear. A quarterly flush of the drain line is cheap insurance.
- Cabinet seals fail faster. Every seam in the air handler and ductwork is being worked by day-night temperature swings and humidity. Small leaks open up over months, not years, so a quarterly look is worth doing.
If your new system feels cold but the house feels sticky, that’s a dehumidification problem, not a cooling problem. It’s usually airflow or a charge issue and it’s worth a service call to sort out, because years of running a system that never properly dehumidifies takes a toll on the house itself. Window and door seals, wood trim, painted surfaces, and anything stored in a garage all feel this. The service call is usually the cheapest part of ignoring it.
DIY-Safe Tasks vs. Warranty-Voiding Ones
Most homeowners want to know where the line is between “I’ll just do that” and “I shouldn’t touch that.” It’s a reasonable question, and the answer is clearer than most people expect. Some tasks are genuinely safe and useful for a homeowner to do. Others are dangerous, and some also void your manufacturer warranty if not done by a licensed technician.
Safe for Homeowners
- Filter changes. Always safe, always worth doing on schedule.
- Keeping the outdoor unit clear. Trim plants, clear debris, hose off visible dust on the coil fins from a few feet away with low pressure.
- Visual inspections. Look at seals, look at drain pans, look for water, listen for new sounds. Observing is free.
- Baseline logging. Supply and return temperature readings, filter condition, thermostat setpoint. This is the most underused safe task there is.
- Thermostat programming. Setting schedules and hold modes.
Keep It in a Technician’s Hands
- Refrigerant work. Handling refrigerant is federally regulated and physically dangerous. There is no safe homeowner version of this.
- Electrical work at the disconnect box or air handler. Capacitors hold a charge after power is off. This is one of the most common serious injury points in HVAC work, and it’s a warranty issue if touched.
- Coil cleaning on the indoor coil. The fins are sharp and easy to bend, and the coil sits close to controls and drain pans. Outdoor coil rinsing at the surface is fine, deep cleaning is not.
- Condensate drain line flushing beyond a surface check. A simple pour-through is safe on most systems, but if there’s any sign of a trap issue, let a technician handle it.
- Compressor, fan motor, and control board work. Warranty-voiding and dangerous.
The safe rule: filters, airflow clearance, and observation are yours. Anything involving refrigerant, the electrical panel, or opening the cabinet is not, and most manufacturer warranties on the equipment you just bought explicitly require licensed work for anything beyond filter changes and filter-adjacent maintenance. That’s worth repeating to yourself before you pop a panel off to “take a look.” A technician visit is cheaper than a voided warranty.
The Filter Schedule That Actually Works Here
Cape Coral homes go through filters faster than the printed package recommendation suggests. A filter rated for “three months” often needs changing every 30 to 45 days in a home with carpet, pets, or open windows. Year-round runtime plus dust that stays in the air longer in a humid climate pushes the schedule tighter than the label.
Change the filter when it’s dirty, not when the calendar says. That means looking at it every 30 days for the first three months after installation, then adjusting. Two practical notes:
- Don’t chase the highest MERV rating. A very high-MERV filter is a bigger restriction than the system was designed for, and the airflow hit matters more in a system that’s already fighting humidity. Most residential systems here do best in the MERV 8 to 11 range. If you want higher filtration, that’s a real conversation about ductwork, not a filter swap.
- Write the date on the filter edge with a Sharpie. The package is out of the garbage by the time you need to remember. A date on the edge is the simplest reminder system there is.
The 30/60/90-day check cycle in this guide is easier to remember if it syncs with something else. Change the filter and check the log on the same day. Two minutes, once a month, catches most of what a new system is going to throw at you in its first year.
Brand Notes: What to Know About Your Equipment
The maintenance calendar is the same regardless of who made the equipment. What changes is the specifics: the filter sizes, the control board behaviors, the part numbers, and the small quirks that a technician who works on that brand regularly already knows. If your new system is a Carrier or Trane, for instance, the thermostat behavior around dehumidification modes is different from a Lennox or an American Standard, and knowing that saves time when something feels off. We work on all four of those, along with Goodman, Rheem, York, Daikin, and Bryant, so the brand you have is the brand we can service.
Keep three things handy for every future service call:
- Model and serial number of the outdoor unit and the indoor air handler. Photos from day one, ideally.
- The original install paperwork, including the refrigerant charge and static pressure readings.
- Your baseline log, if you’ve kept one.
Those three things turn a first visit into a diagnosis instead of an investigation. Anyone working on the system walks in already knowing what “normal” looks like for your house.
Common Mistakes to Avoid
- Signing off without a refrigerant charge verification. “It’s cooling fine” is not a charge verification. A slightly undercharged system cools a new Cape Coral house adequately in mild weather and shortens the compressor’s life in hot weather.
- Skipping the 90-day check. The manufacturer warranty window for installation-related issues is exactly the window most homeowners never use. The 90-day visit is the one that saves you a claim.
- Not registering the warranty. Manufacturers typically require it within a set window of installation. If it isn’t registered, the paperwork you were handed is not worth much.
- Running a high-MERV filter because “it must be better.” It’s called filtration but it’s really an airflow restriction. On a new system that’s still dialing in dehumidification, it makes things worse, not better.
- Hosing down the outdoor unit from directly overhead. Fins bend, and water forced into the electrical compartment is a call for a technician. A gentle rinse from a distance is fine. A pressure washer is not.
- Never logging anything. “It seems like it runs longer now” is a feeling. A two-year log of supply temperature readings is a diagnosis. The log takes two minutes a month and pays for itself the first time something drifts.
- Letting a “quick check” become a service by someone without HVAC-specific training. A new system is a specific piece of equipment with manufacturer-specific specs. A general handyman checking “the AC” is not the same as a technician checking it. This isn’t about job titles, it’s about warranty compliance and getting the right answer the first time.
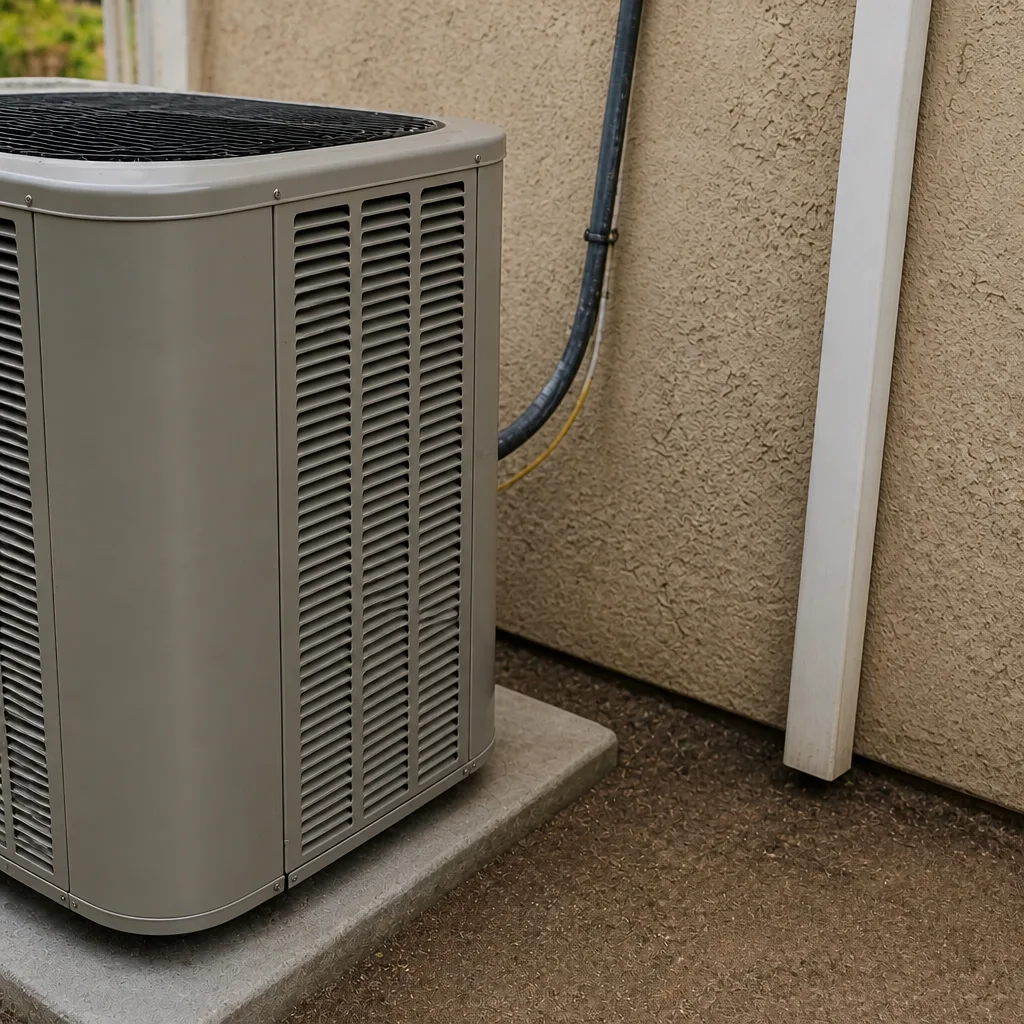
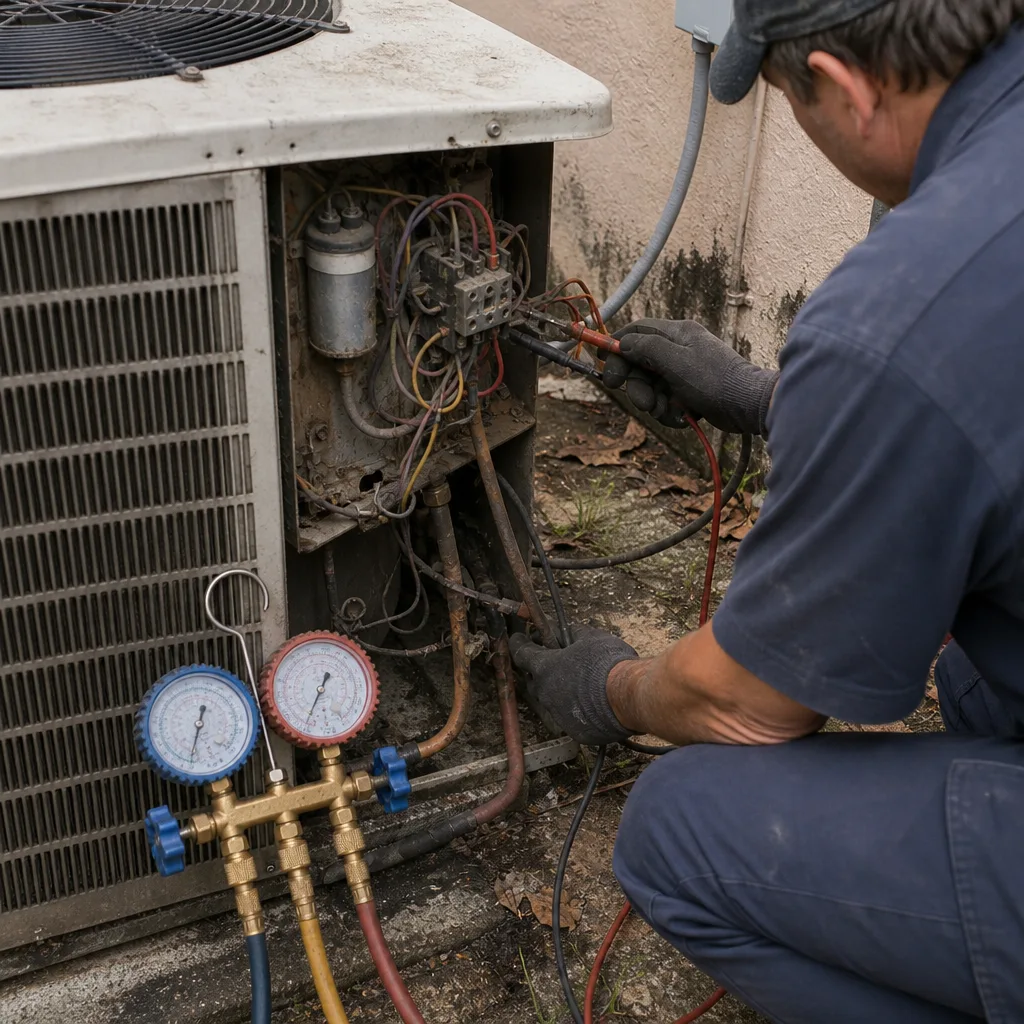
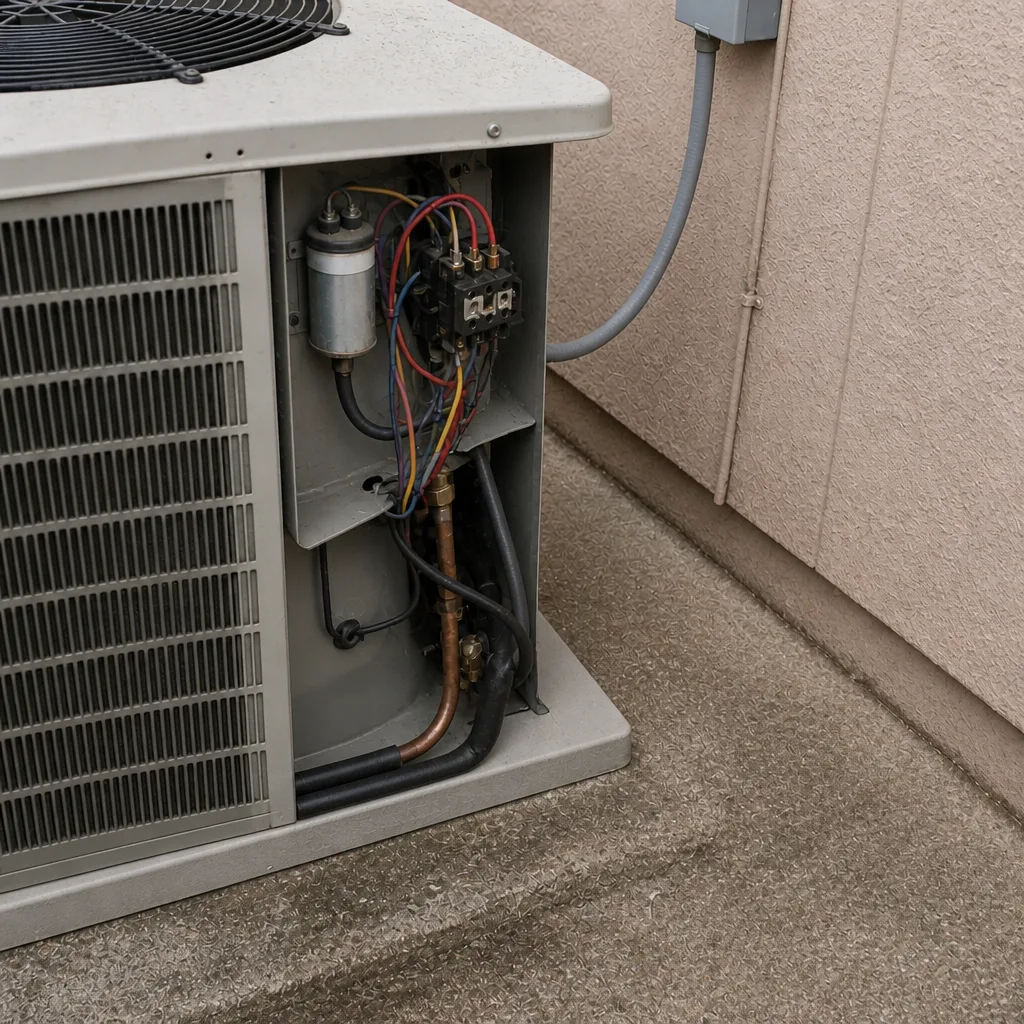
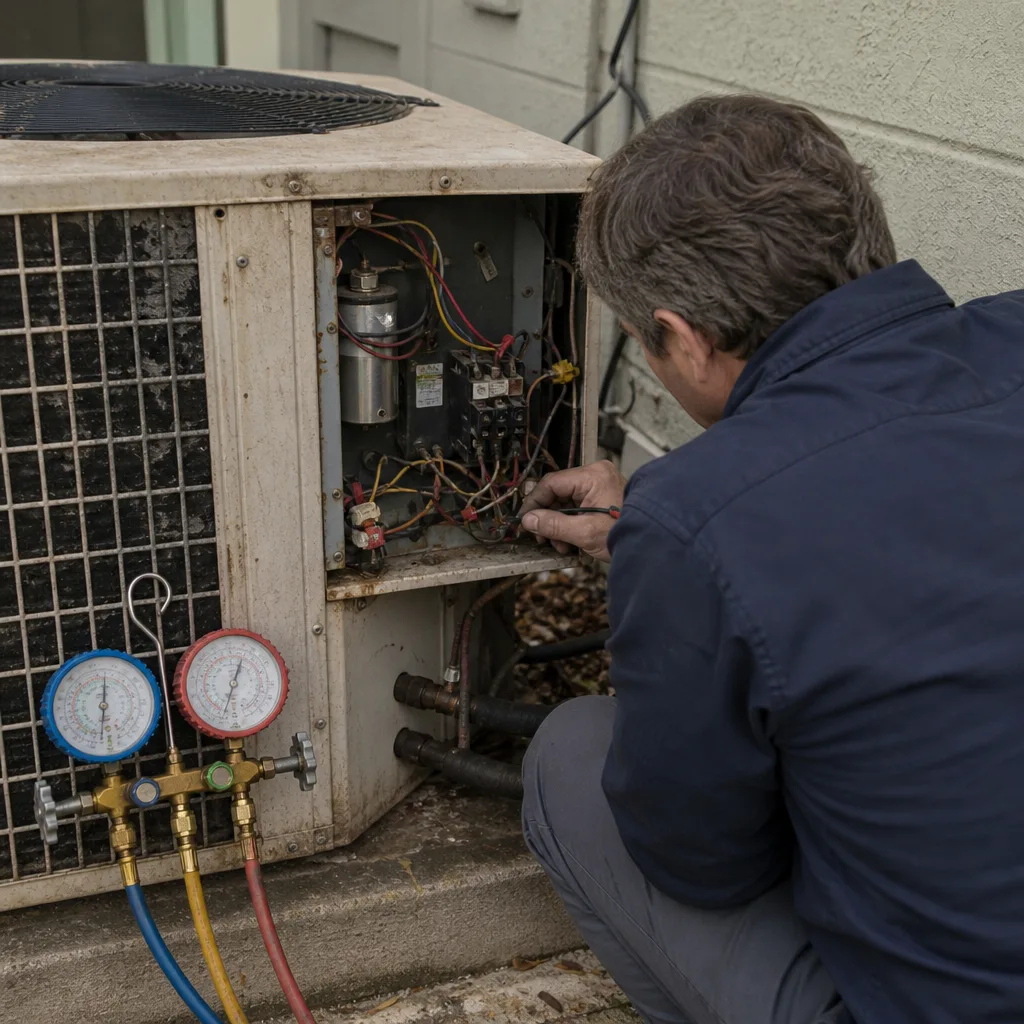
See the difference
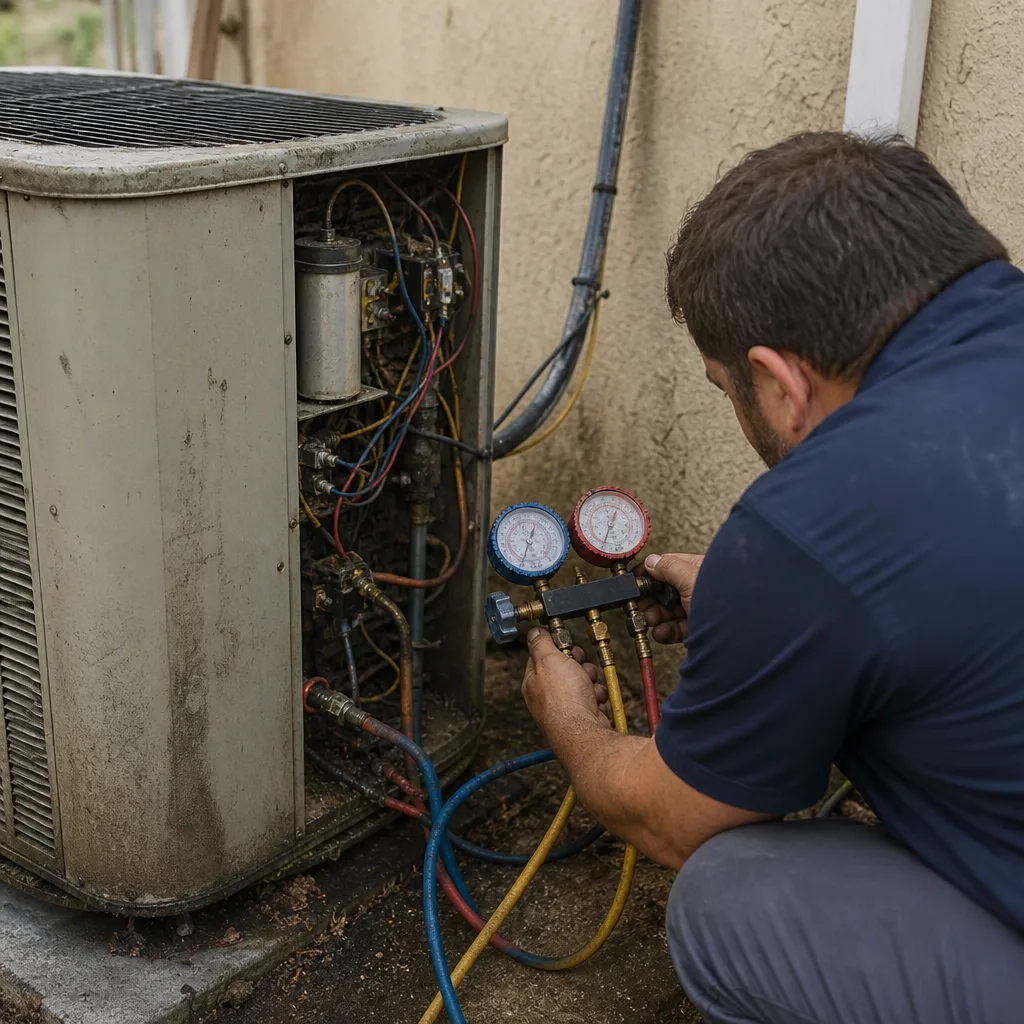 Before
 After
 Before
 After
 Before
 After
When to Call a Professional
Some things are a technician-visit-worthy problem and some things are not. Call us when your new system is running longer than it did in week one under similar weather, when the outdoor unit keeps shutting off or won’t start, when you see water under or around the air handler, when the house feels cool but humid, when the breaker trips during a cooling cycle, or when any part of the system is making a noise it wasn’t making before. Also call before you open the electrical disconnect box or the air handler cabinet, especially if you’re trying to “just take a look.” Capacitors hold a charge after power is cut and that’s where serious injuries happen in this trade.
For a full life-cycle service, Cape Coral homeowners can lean on one team for the install, the annual tune-up, and any furnace repair if you have a heat side too. We keep our focus on HVAC specifically, which means every technician and every part is tuned to cooling and heating, not split across unrelated trades. Linden AC Repair offers free estimates in Cape Coral. Call (855) 595-4793. We answer 24/7. Fast dispatch from 7am to 7pm, Sunday through Friday.
Frequently Asked Questions
Once a year at minimum, and twice a year for the coil cleaning and condensate flush is more realistic here because the system runs most of the year. A 90-day check in the first year is also worth it to catch installation issues while the warranty is easiest to claim. Book the annual tune-up at the same time each year so the service history stays in one record.
Filter, water around the air handler, and the supply-to-return temperature split. Write down the split so you have a baseline. Anything that looks off in the first 30 days should go back to the installer rather than a new company, because installation-related issues are usually their responsibility and their warranty. Call (855) 595-4793 if you need help figuring out which path applies.
Yes, both are safe homeowner tasks. Filter changes are always fine, and a gentle rinse of the outdoor coil fins from a few feet away on low pressure is fine too. Anything involving refrigerant, the electrical disconnect box, or opening the air handler cabinet is not safe and can void the manufacturer warranty. Leave those to a licensed technician.
Supply and return air temperatures, thermostat setpoint, and filter dates at minimum. Have a technician add refrigerant subcooling or superheat and compressor amp draw to the log once a year. Those two readings turn “it feels off” into a diagnosis, because a trend is easier to read than a single number. If you want help setting up a log, call (855) 595-4793 and we’ll walk you through what to record.
Yes. Static pressure tells you whether your ductwork can handle the airflow the new system is pushing. Skipping it means finding out the hard way in the first hot month, when the system short-cycles and never quite hits setpoint. Ask for the reading and whether it’s within spec before the installer leaves. If you’re not sure what to ask for, call (855) 595-4793 and we’ll tell you what to expect.
You’ll have a registration confirmation from the manufacturer, usually by email, along with a registration number. If you don’t have one, ask the installer. Manufacturers typically require registration within a set window of installation, and an unregistered warranty isn’t honored. If you’re unsure of the status, call us at (855) 595-4793 and we can help you check what the manufacturer has on file for your unit.
The Bottom Line
A new AC in Cape Coral doesn’t need more maintenance than elsewhere. It needs different maintenance. Year-round operation compresses the timeline, so the 30/60/90-day check cycle and a simple baseline log do more for your system’s lifespan than any single service call. Confirm the day-one items before you sign off, run the first-year checks, keep three numbers in a notebook, and keep your hands off the refrigerant and electrical side. Everything else is a filter, a rinse, and a phone call when something feels wrong. Before you buy, or before you go another season on a system that’s already aging, call (855) 595-4793 for a free estimate. We answer 24/7. Fast dispatch from 7am to 7pm, Sunday through Friday.
Written by the team at Linden AC Repair.